Blog
How To Install New WordPress Site Locally Using MAMP: First Lap
Finally! Something that might actually be useful for someone.
My issues before installing:
Had some weird old WordPress install that needed to be uninstalled:
Step One: Delete all “wordpress” folders from the Mac
Step Two: Delete (“drop”) all related databases (not tables) from PHPMyAdmin
Step Three: Clear browser cache (maybe not necessary, but why not)
Had been traumatized by previous half-baked WordPress install:
Step One: Consult an actual WordPress book (I chose “Smashing WordPress” 3rd Ed by Hedengren).
Step Two: Read at least three different places in the WordPress codex about installing WordPress locally via MAMP.
Now that my “baggage” had been resolved, I moved onto the actual re-install.
 Step One: Identify where you want the new site to reside. This can be anywhere. Using MAMP Preferences, under “Apache”, browse to your designated folder. Wait for the servers to connect.
Step Two: Download WordPress.
Step Three: Copy and paste the downloaded “wordpress” folder into your designated folder that MAMP is using.
OK. Seems easy enough. At this point, I pointed my browser to localhost and of course it didn’t work automatically. Instead, it complained about my lack of wp-config file.
Now, me and the config file go waaay back. So I felt prepared to make the following changes:
Step One: Open the provided wp-config-sample.php files and change all the DB_NAME settings to whatever is easiest for you to remember.
// ** MySQL settings – You can get this info from your web host ** //
/** The name of the database for WordPress */
define(‘DB_NAME’, ‘database name’);
/** MySQL database username */
define(‘DB_USER’, ‘yourname’);
/** MySQL database password */
define(‘DB_PASSWORD’, ‘password’);
/** MySQL hostname */
define(‘DB_HOST’, ‘localhost’);
/** Database Charset to use in creating database tables. */
define(‘DB_CHARSET’, ‘utf8’);
/** The Database Collate type. Don’t change this if in doubt. */
define(‘DB_COLLATE’, ”);
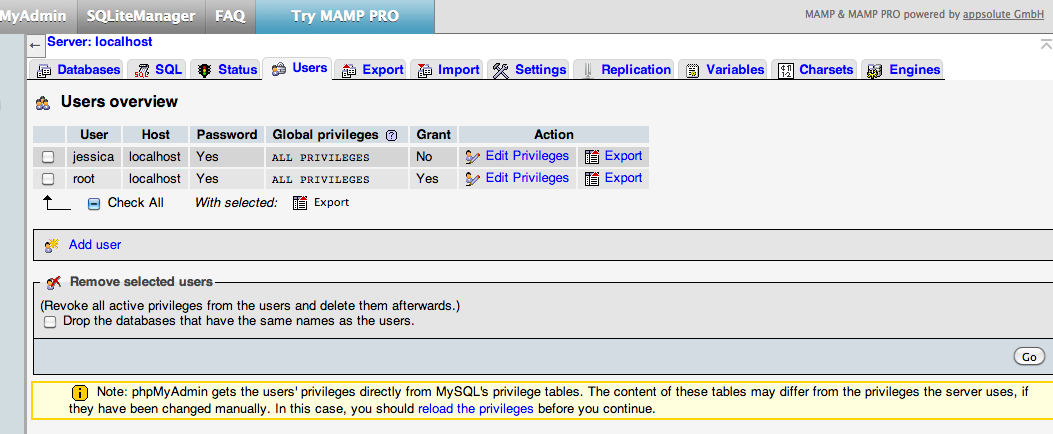
Step Two: Go to PHPMyAdmin. Create a new database with the same name you just put into the config file. Create a user with all privileges whose username and password matches the config file. Make sure the user’s host is “localhost” specifically.
Step Three: Copy and paste new values from the api.wordpress.org secret key salt page into config (not necessary for security on a local site, but since this will eventually go live, again, why not?).
Step Four: Change the name of the file to wp-config.php and save.
At this point I pointed my browser to http://localhost:8888/wordpress/wp-admin/install.php and lo and behold, it now prompted me to create my user account and name the site! Woot woot!


